

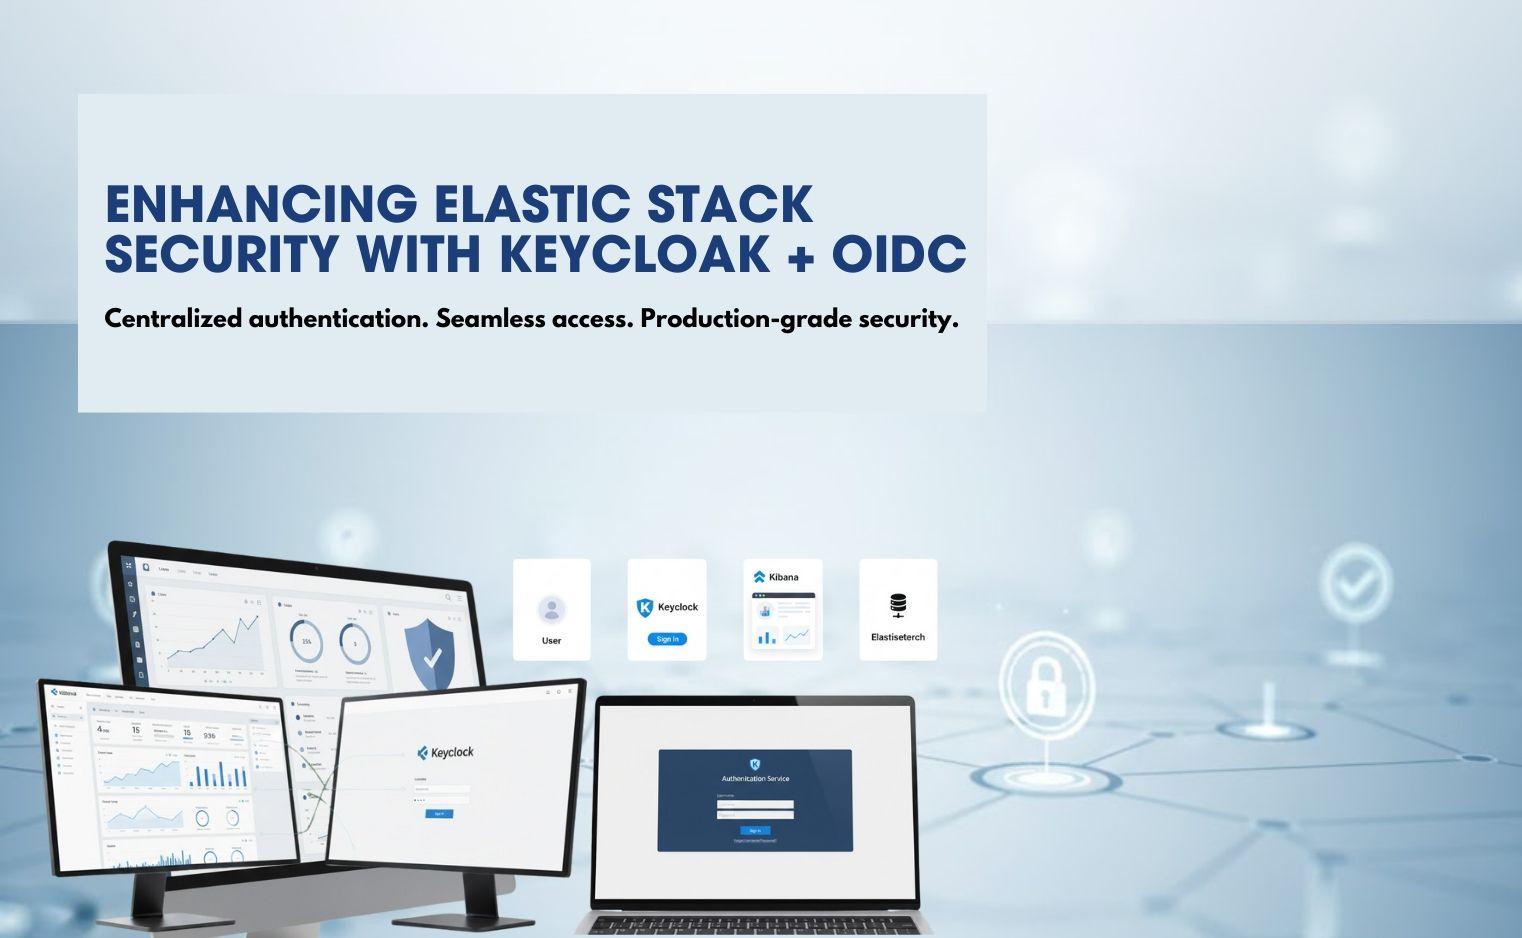
Enhancing Elastic Stack Security with Keycloak and OIDC: A Complete Step-by-Step Guide
Modern enterprises increasingly rely on observability, monitoring, and analytics platforms to gain insights from operational data. The Elastic Stack — Elasticsearch, Kibana, Beats, and Logstash — has emerged as a leading solution for centralizing logs, metrics, and event data. With its widespread adoption, securing access to sensitive information becomes a critical concern.
Managing authentication across multiple tools without a centralized identity system introduces friction, operational overhead, and potential security risks. Implementing Single Sign-On (SSO) simplifies access management, enhances security, and reduces administrative complexity.
Keycloak, an open-source Identity and Access Management (IAM) system developed by RedHat, provides robust support for OpenID Connect (OIDC), OAuth2, and SAML protocols. Integrating Keycloak with the Elastic Stack allows organizations to enforce a centralized authentication mechanism while maintaining granular access control.
This guide outlines a structured approach for enabling secure SSO for Elasticsearch and Kibana using Keycloak, including configuration best practices and production-ready considerations.
Why Single Sign-On for the Elastic Stack?
Multiple independent authentication systems across dashboards, analytics tools, and monitoring services create unnecessary complexity. Some challenges include:
Fragmented Access Control: Separate credentials for each tool can result in inconsistent permissions.
Operational Overhead: Managing multiple accounts increases administrative workload.
Security Risks: Weak or reused passwords increase the likelihood of breaches.
By integrating SSO with OIDC:
A central user directory ensures consistent authentication policies.
Users authenticate once and gain access to all approved services.
Access and session control become simpler to manage.
Multi-factor authentication (MFA) and password policies can be enforced centrally.
Centralized authentication reduces risks, simplifies user management, and aligns with modern enterprise security standards.
Why Keycloak?
Keycloak is widely adopted in enterprise environments due to its flexibility and feature set:
OpenID Connect (OIDC) & OAuth2 Support: Facilitates token-based authentication for web applications and APIs.
SAML Support: Enables integration with existing identity providers.
User Federation: Supports LDAP, Active Directory, and custom user stores.
Role-Based Access Control (RBAC): Allows granular permission assignment.
Administrative Console: Provides a user-friendly interface for managing users, clients, and authentication flows.
Using Keycloak removes the need for custom authentication logic while providing a secure, auditable authentication system for enterprise applications.
Architecture Overview
The SSO workflow for Elastic Stack with Keycloak is as follows:
A user accesses Kibana.
Kibana redirects the user to the Keycloak login page.
Keycloak authenticates the user.
Keycloak issues an OIDC token.
Kibana communicates with Elasticsearch and validates the token via the OIDC realm.
User receives access to Kibana and corresponding Elasticsearch data based on roles.
This architecture requires configuration in several areas:
Keycloak Realm and Client: Defines the OIDC client for Kibana.
Elasticsearch OIDC Realm: Configures token validation.
X-Pack Security: Enables secure communication and user authentication.
SSL/TLS Certificates: Ensures encrypted communication between services.
Kibana OIDC Callback: Handles the token response and user login flow.
Step 1: Keycloak Setup with Docker
Using Docker simplifies the deployment of Keycloak and reduces environment inconsistencies.
docker-compose.yml configuration:
keycloak:
  image: quay.io/keycloak/keycloak:24.0.3
  restart: always
  command: start-dev
  environment:
    KC_PROXY_ADDRESS_FORWARDING: "true"
    KC_HOSTNAME_STRICT: "false"
    KC_HOSTNAME_ADMIN_URL: "http://localhost/auth"
    KC_HOSTNAME_PATH: auth
    KC_PROXY: edge
    KC_HTTP_ENABLED: "true"
    KC_DB: postgres
    KC_DB_URL: jdbc:postgresql://postgres:5432/keycloak
    KC_DB_USERNAME: keycloak
    KC_DB_PASSWORD: password
    KEYCLOAK_ADMIN: admin
    KEYCLOAK_ADMIN_PASSWORD: admin
  ports:
    - "8080:8080"
  depends_on:
    - postgres
Start Keycloak:
docker-compose up -dKeycloak is accessible at: http://localhost:8080/auth
Step 2: Create Realm and Client
Create a realm named
elastic.Create a client named
kibana.Import a JSON configuration for faster setup.
Key configurations for the client:
Redirect URI:
http://0.0.0.0:5601/api/security/oidc/callbackGrant Type: Authorization Code
Client Secret: Stored securely in Elastic Keystore
Protocol Mappers: Include
clientHost,clientAddress, andclient_idThese mappings ensure Kibana receives all necessary claims from Keycloak.
Step 3: Create Users in Keycloak
Navigate to Users in the Keycloak admin console.
Click Add User and enter the required details.
Configure credentials and disable temporary passwords.
Assign appropriate roles corresponding to Elasticsearch access policies.
This ensures controlled and auditable access to the Elastic Stack.
Step 4: Configure the Elastic Stack with OIDC
The Elastic Stack must be configured to accept OIDC tokens issued by Keycloak:
Enable X-Pack Security for authentication and authorization.
Configure OIDC Realm in
elasticsearch.yml:xpack.security.authc.realms.oidc.oidc1: type: openid order: 2 rp.client_id: kibana rp.response_type: code rp.redirect_uri: http://0.0.0.0:5601/api/security/oidc/callback op.issuer: <Keycloak_issuer_url> op.authorization_endpoint: <Keycloak_authorization_endpoint> op.token_endpoint: <Keycloak_token_endpoint> op.jwkset_path: <Keycloak_jwks_url> op.userinfo_endpoint: <Keycloak_userinfo_endpoint> claims.principal: sub claims.groups: "http://example.info/claims/groups"Store the Client Secret securely in the Elastic Keystore:
docker exec <elasticsearch_container> bash -c \
"echo 'CLIENT_SECRET' | elasticsearch-keystore add -x \
'xpack.security.authc.realms.oidc.oidc1.rp.client_secret'"
Configure Kibana to use secure Elasticsearch connection and OIDC callback.
Step 5: Start Services and Test Authentication
After all configurations:
Start Elasticsearch and Kibana services.
Navigate to Kibana (
http://localhost:5601).Users are redirected to the Keycloak login page.
Upon successful login, access is granted according to roles and group claims.
This confirms the SSO integration is operational.
Production Best Practices
SSL/TLS Certificates: Replace self-signed certificates with CA-signed certificates for production.
Multi-Factor Authentication (MFA): Enable MFA in Keycloak for additional security.
Role Mapping: Map Keycloak groups to Elasticsearch roles to enforce fine-grained access control.
Token Management: Configure refresh token lifetimes and secure storage.
Monitoring & Auditing: Enable logging of authentication events and user activity for compliance.
Disaster Recovery: Backup Keycloak configuration, Elasticsearch keystore, and certificates regularly.Benefits of Keycloak + Elastic Stack Integration
Centralized authentication reduces password sprawl.
Streamlined onboarding and offboarding of users.
Consistent security policies across dashboards and analytics tools.
Simplified management of roles, groups, and permissions.
Scalable solution suitable for enterprise observability platforms.
Conclusion
Integrating Keycloak with the Elastic Stack provides a secure, scalable, and centralized authentication system. By implementing OIDC-based SSO, organizations can simplify access management, reduce security risks, and maintain compliance across monitoring and analytics platforms.
This integration ensures that sensitive operational data remains protected while delivering a seamless experience for developers, analysts, and platform administrators. Keycloak + Elastic Stack provides a robust foundation for modern enterprise security practices.